To go to the BACKLOG, on the Taiga panel, click ![]() .
.
Note: You can move any new User Story from the BACKLOG to a Sprint and then manage it throughout its life-cycle, or you can leave it on the BACKLOG and manage it separately from there.
To add a new User Story, go to the BACKLOG and then follow these steps:
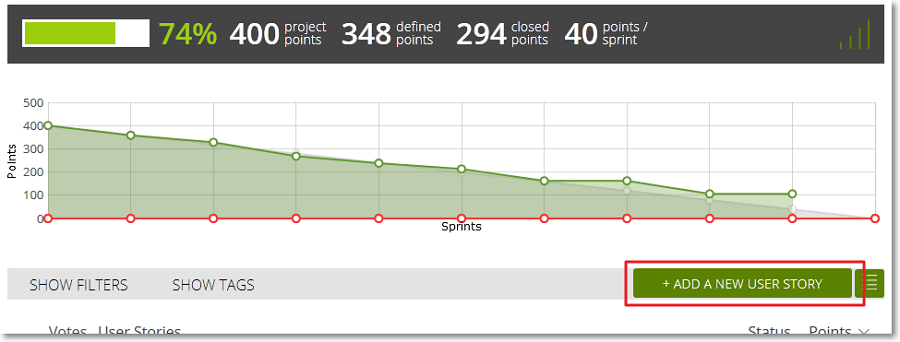
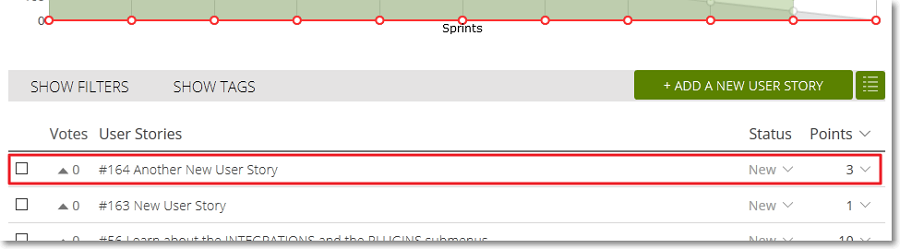
- Under the project’s burn-down chart, on the right side, click +ADD A NEW USER STORY.
 This action opens the New user story form – perform the steps that follow on this form.
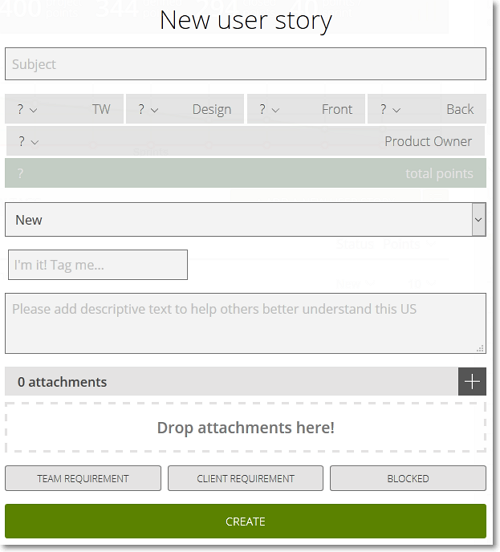
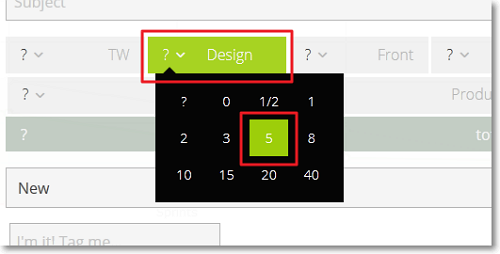
- Estimate the number of Points necessary for your teams to complete the new User Story. To do this, click the name of any team/role involved in the project and then select a number of Points – do this for each team that will work on the new User Story.
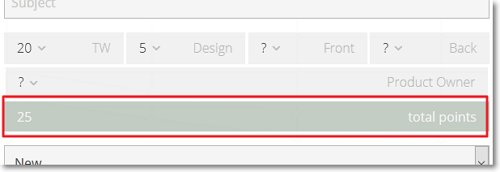
You can view the total number of Points for the new User Story in the total points box.
- (Optional) Add attachments to the new User Story. To do this, you can just drag-and-drop a file in the designated area (the attachments area) on the form or you can click
 and then select the file you want to attach.
 Note: To delete any file you have previously attached on the form, in the attachments area, position your pointer over that file and then, on the right side of the file’s size, click
 . You can later view and manage the attachments of a User Story from its details page – for more details, you can go to User Story attachments.
 - (Optional) If you do not want the teams to start working on the new User Story after you create it, click BLOCKED and then enter a reason why the User Story is blocked.
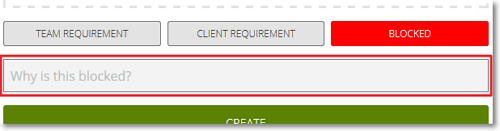
- Click CREATE.
The new User Story is added to the BACKLOG (and to the KANBAN chart if that module is available for your project).
 Note: To close the form without adding the new User Story, in the top-right corner of the page, click
 or press ESC on your keyboard.

