You can use the WIKI module to add relevant information about your Taiga project as “link” which you can then share with your team.
To access the WIKI module, on the Taiga panel, click  .
.
Note: If you do not see the WIKI module icon on the Taiga panel, you may need to enable it. To see how to enable/disable module, you can go to Modules.
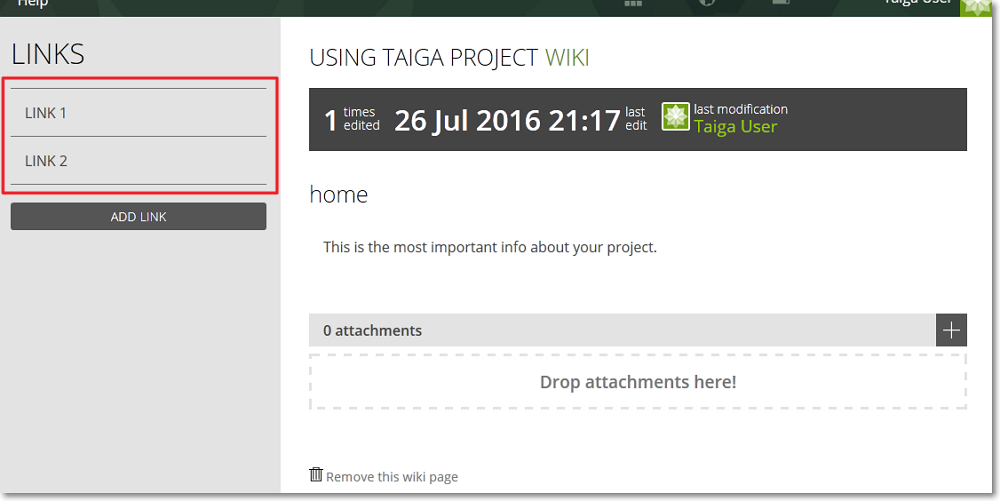
When you access the WIKI module, you see:
- on the left side of the page, next to the Taiga panel, the LINKS list that shows existing wiki links (if any) and the ADD LINK button
- on the right side, the “home” page that should show the most important info that you want to share about your project – to see how you can add that info, you can go to Create a new WIKI page
After you create other WIKI pages, to navigate to those pages, you can click the name of those pages on the LINKS list; you can see the WIKI home page every time you click ![]() on the Taiga panel.
on the Taiga panel.
Note: To completely remove a WIKI page, position your pointer over the name of that page on the LINKS list and then, on the right side, click  .
.
On each wiki page, you can view:
- the number of times that page has been edited, the date and time of the last edit and the user that made the last modification
- the name of the page
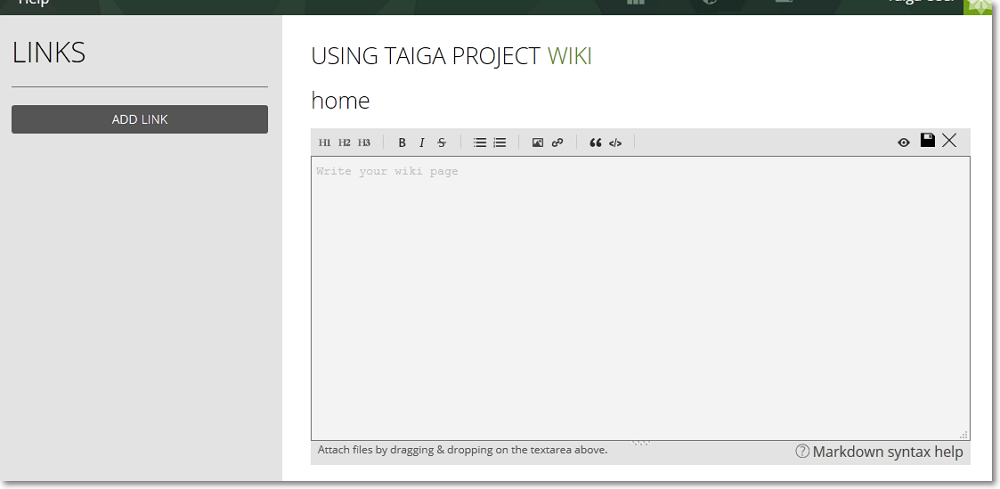
- the info shared on the page – you can edit text, view and attach files
- the Remove this wiki page link – click to delete a wiki page
Note: When you click Remove this wiki page on the WIKI home page, you only delete the info contained on that page. The next time you access the WIKI module, you will see an empty home page where you can add info you want to share.