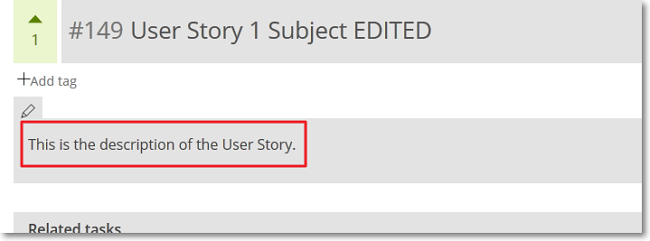
After you create a new User Story, on its details page you can add or edit the User Story description. To do this, follow these steps:
- Click the current description of the User Story or, if there is no description, click the designated empty placeholder.
 This action opens a WYSIWYG editor.
 - Edit the description of the User Story. For help with formatting the description, in the bottom-right side of the editor, click Markdown syntax help.
Note: You can attach files to the User Story when you are editing its description. To do this, drag and drop a file in the area of the WYSIWYG editor – this action attaches the file to the User Story description and you can also see the attached file in the attachments section of the User Story’s details page.
If the file you attach cannot be displayed automatically by the browser (for example, a Word file), the string that you see in the text box will transform into a link to the file when you preview or save the description. If the file you attach can be displayed automatically by the browser (for example, an image file), the string that you see in the text box is preceded by a ! and will transform into a preview of the file when you preview or save the description – you can remove the ! if you want the string to transform into a link to the file.

- In the top-right side of the editor, click
 to save any changes made.
Note: To preview the edited description, next to the save button (), click
to save any changes made.
Note: To preview the edited description, next to the save button (), click  ; to return to the editor and continue editing the description, click
  or, to save the description, click .

